The Educational Scenarios installer provides two example scenarios - FirstScenario, which shows very basic runnable scenario, and ExampleScenario which is a more complex scenario targetted at testing of childrens' orientation in urban environment.
You should try these two scenarios before writing your own to get familiar with UT2004 and Eclipse IDE.
The following steps show how to run a scenario:
-
Open Eclipse and select the workspace you provided during the Educational Scenarios installation. If FirstScenario and ExampleScenario projects are not already in, import them using the -> menu and then by selecting the from the folder.
-
Run UT2004 with lower priority. You can do that by running the UT2004LowerPriority.bat from the
UT2004\Systemdirectory or by running the UT2004.exe and then manually setting the priority in Task Manager. -
Select , (the bottommost in the select panel on the left). Now you can choose the map (the ExampleScenario is implemented for
DM-UnreallVilleBig) and mutators - you will probably want theGBNoWeaponMutatorremoving the weapons from the game but other can be useful - e.g.Regenerationregenerates health when somebody gets injured (for example by falling from height). -
Now press the button on the bottom of screen and wait until the game starts.
-
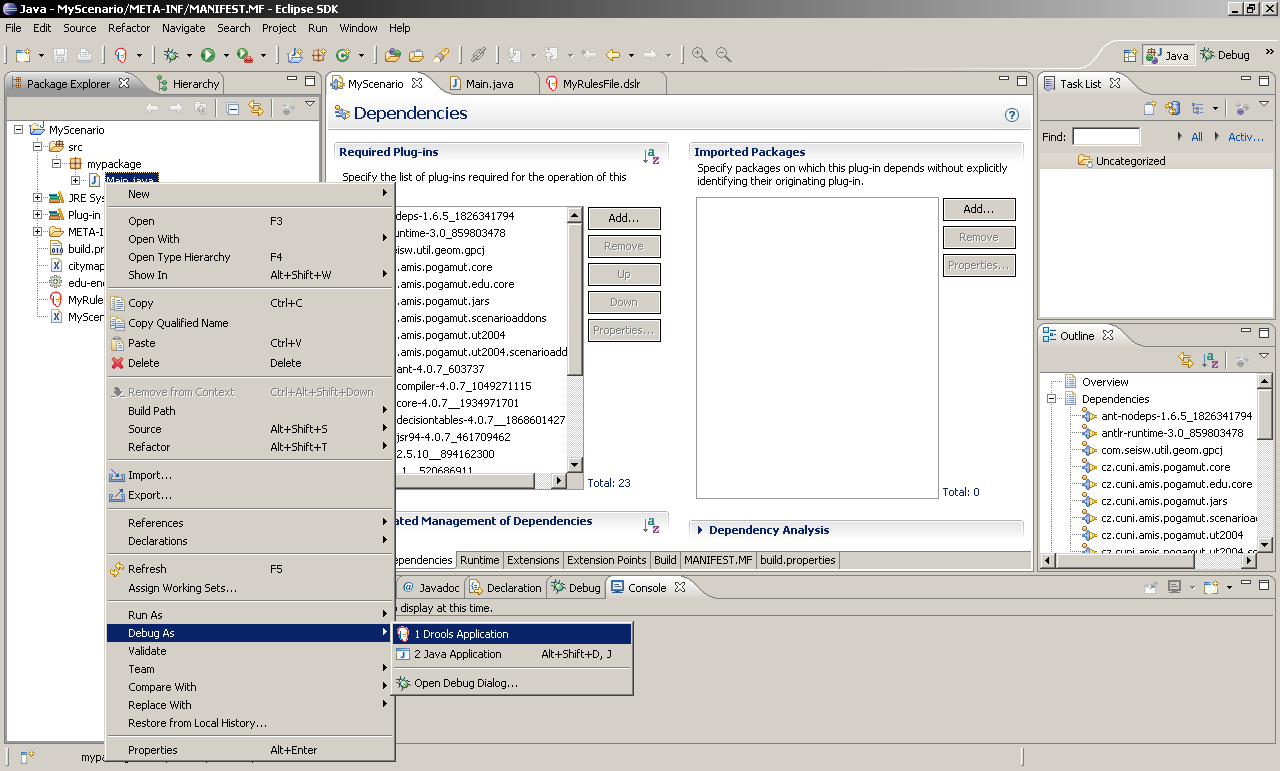
In Eclipse, on the scenario you want to run and select -> Java application
A second option is to start the game server with
esserver.bat in the UT2004\System directory. This batch
automatically starts the PogamutScenario on
map DM-UnrealVilleBig with appropriate
mutators.
Then run esjoin.bat - this automatically connects to the running UT2004 server on localhost. You can also run the game manually - run the UT2004LowPriority.exe as in step 2 and join the game - press , select the running server from the LAN tab and then press the button.
Here you will learn how to create a very simple scenario, basically a copy of FirstScenario.
-
Open Eclipse and create a new Eclipse Plug-in. Click on -> ->
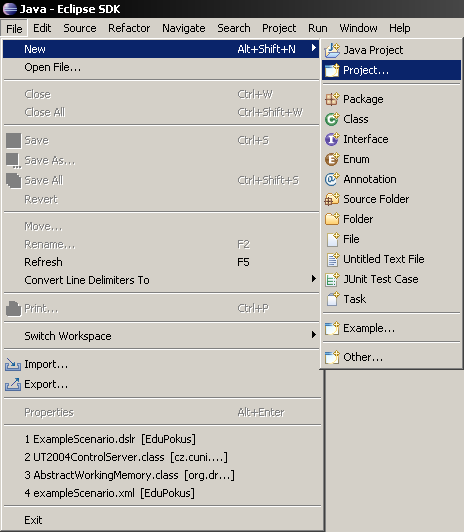
Select and press button.
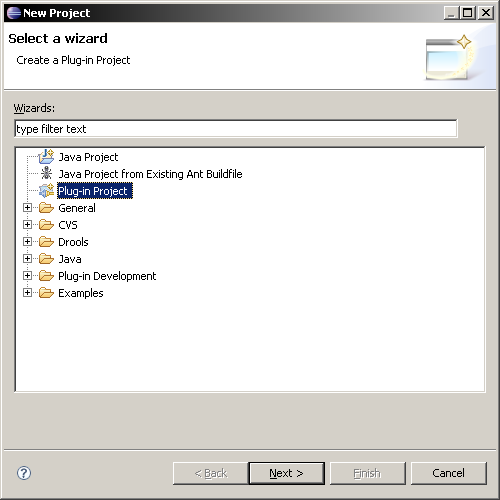
Fill in the Project name: e.g
MyScenarioand press button.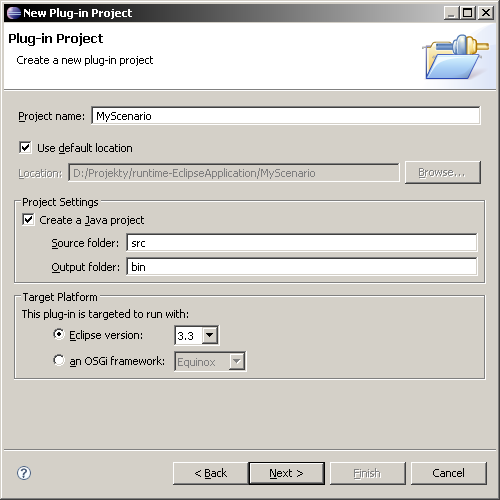
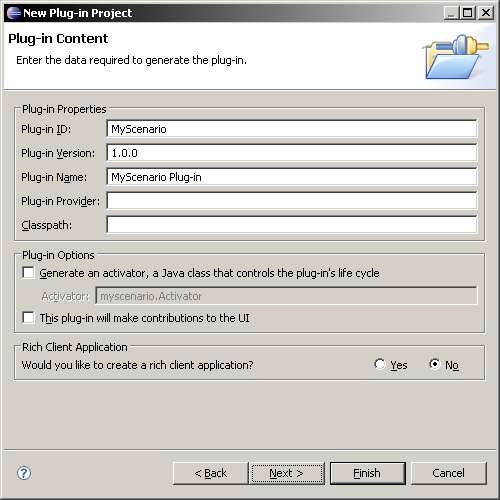
Check off both the Plug-in Options, we don't want any of these. Press the button.
-
The screen should look as this. If you cannot see the plug-in overview, the
Manifest.mfon the left. Now switch to the tab (highlighted by red ellipse).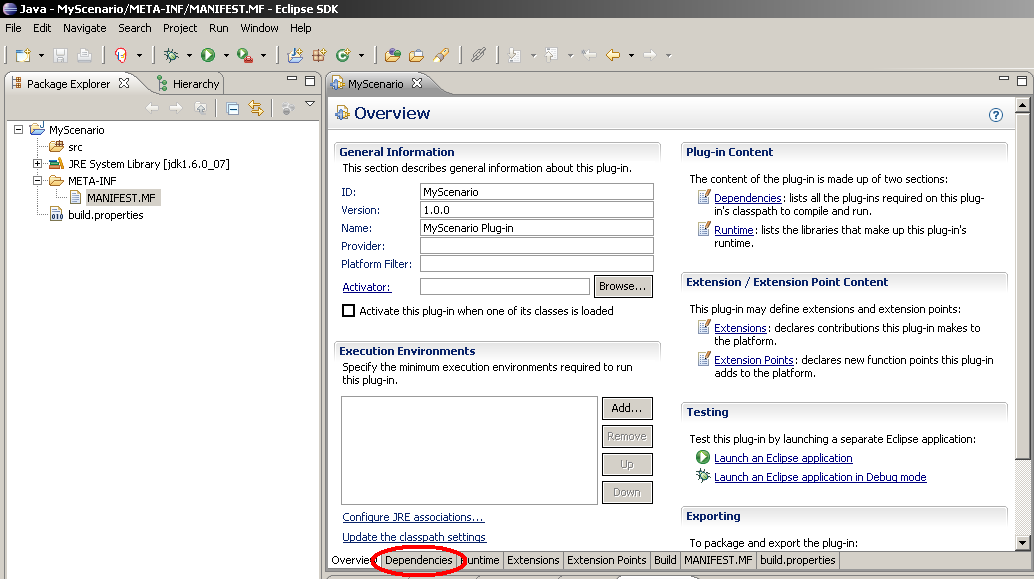
We have to add several plug-ins on which is this scenario dependent. Click the button.
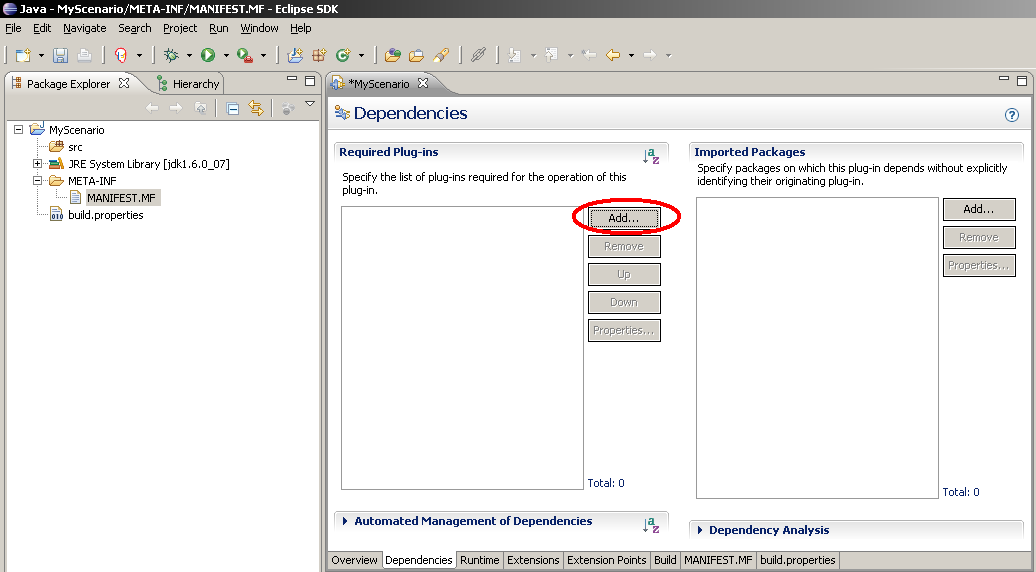
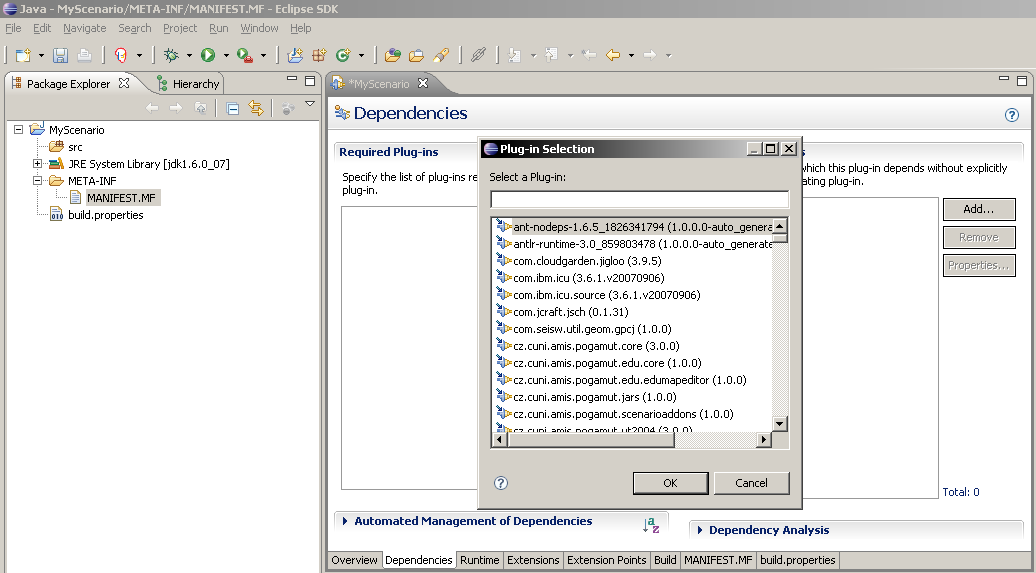
Add these plug-ins:
- ant-nodeps-1.6.5_1826341794
- antlr-runtime-3.0_859803478
- com.seisw.util.geom.gpcj
- cz.cuni.amis.pogamut.core
- cz.cuni.amis.pogamut.edu.core
- cz.cuni.amis.pogamut.jars
- cz.cuni.amis.pogamut.scenarioaddons
- cz.cuni.amis.pogamut.ut2004
- cz.cuni.amis.pogamut.ut2004.scenarioaddons
- drools-ant-4.0.7_603737
- drools-compiler-4.0.7_1049271115
- drools-core-4.0.7__1934971701
- drools-decisiontables-4.0.7__1868601427
- drools-jsr94-4.0.7_461709462
- janino-2.5.10__894162300
- jsr94-1.1__520686911
- jxl-2.4.2__189085757
- mvel-1.3.1-java1.4__745484984
- org.eclipse.jdt.core
- xercesImpl-2.4.0__1358228867
- xml-apis-1.0.b2_794376095
- xpp3_min-1.1.3.4.O__336787163
- xstream-1.2.2_1977046618
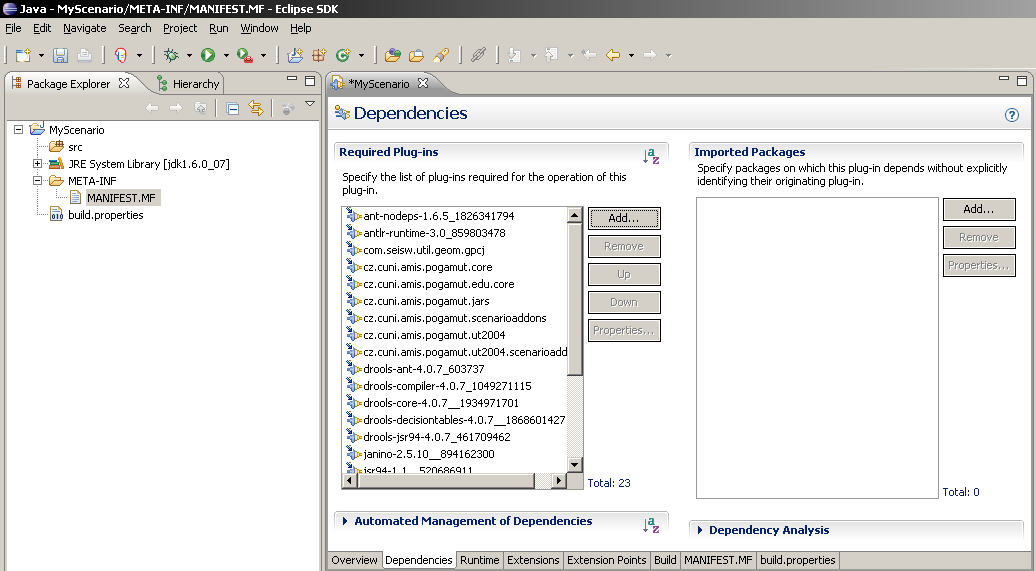
You can select them by one and repeatedly push the button or press Ctrl while selecting multiple plug-ins.
The screen should look like this.
-
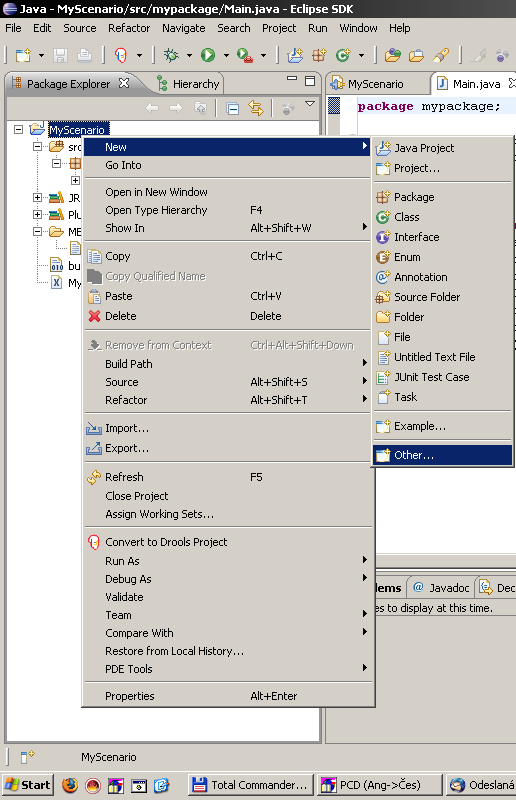
Add the main package. the
srcfolder and select ->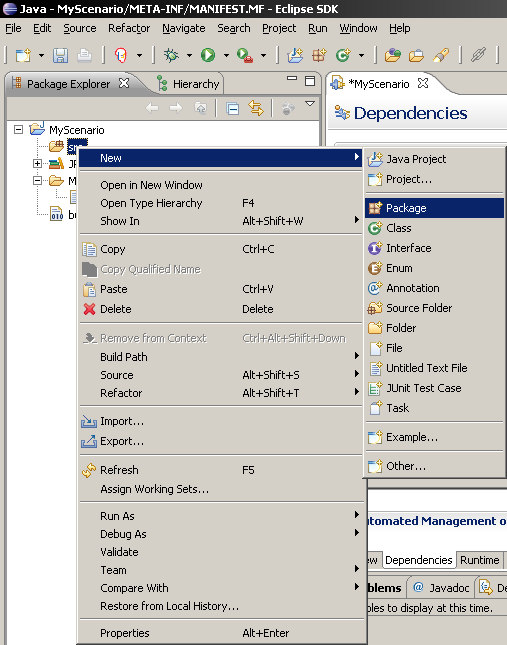
Fill in the package name, e.g.
mypackage. You can use only small letters and numbers.
-
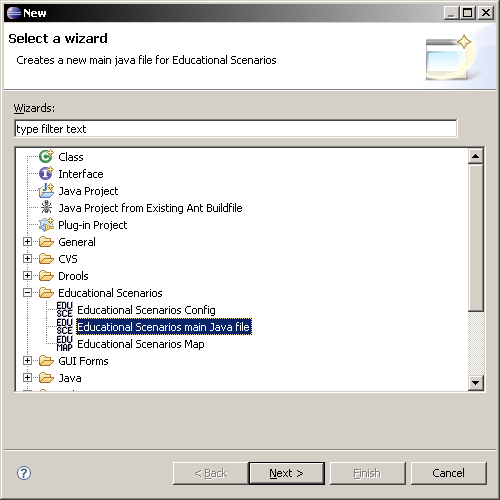
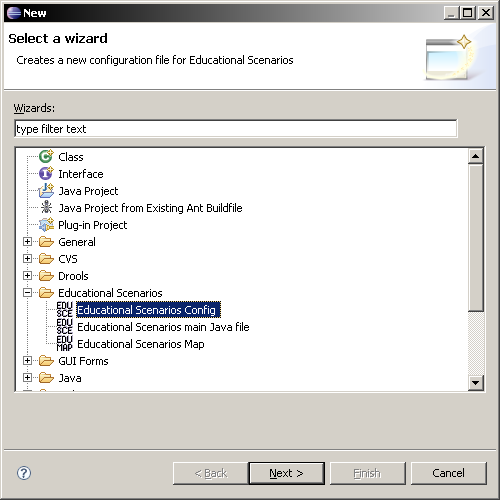
Add the main java file. Although you do not need to understand the contents of this file, it is necessary to have it. I allows to execute the whole scenario. the
mypackagepackage and select -> .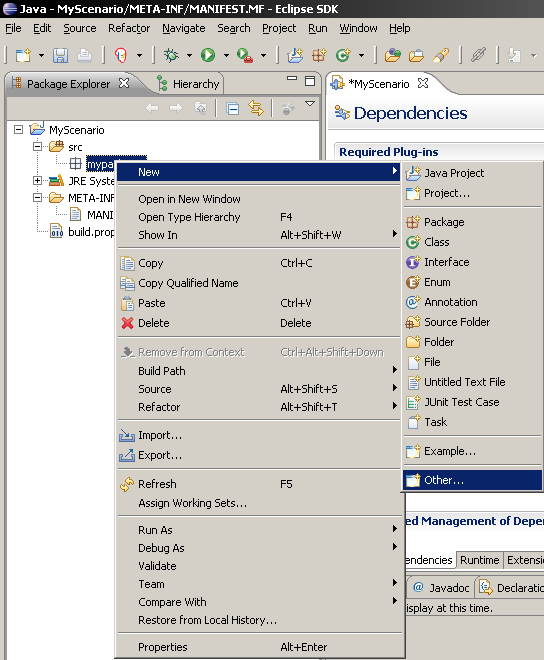
Select from the folder.
Press the button.
Fill in the name for the main java file. Use
Main.java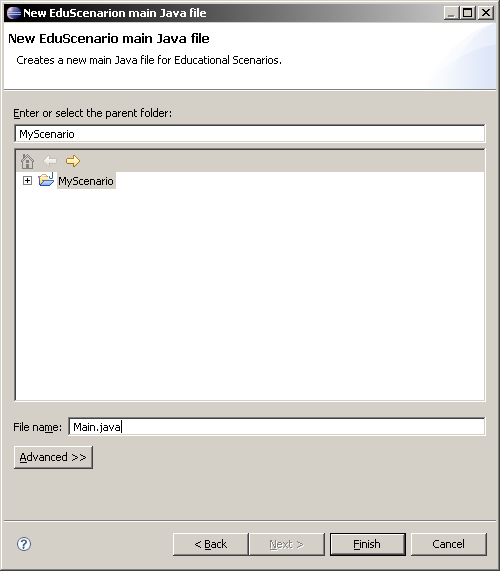
-
Add the configuration file. The configuration file gathers general information about the scenario - mostly links to other files and general settings. It is a XML file where the top element is scenario with language attribute. Currently supported is only english. The scenario can contain these sections (tags):
-
"Players" has two attributes: min sets the minimum number of players that must be joined to start the scenario, and max which sets the maximal number of players for the scenario to be started.
-
"Rules" gathers all rule files and specifies their DSL in the attribute dsl.
-
"Package" denotes one rules file with its attribute src.
-
"Scenes" contains all acts. See below what is the act.
-
Act is some part of the story. There are two reasons to write the structure of the scenario down. The first is to help you plan that out. Sketching of the scenario before the implementation eases thinking the scenario over. The second reason is to simplify referring to parts of the story. One act can contain multiple other acts - e.g. scenario "workday" should include acts "morning", "work-shift" and "evening", where "morning" includes "waking up", "breakfast" etc. The workday is in one of these states in each moment. But when you are breakfasting it also means that it is morning, too. The questions whether the scenario is performing the act that is superior to the performed act are answered positively. Nevertheless, such straight division is frequently not enough. When you see a car rushing at you, you will jump out off the road regardless of whether it is morning or evening and then continue with previous tasks. That is why the scenario can be in multiple different acts but it has to be from different act tree (the two acts have no common superior act). The acts are identified by unique "id" attribute.
-
Maps gather the map files.
-
Map links with the src attribute to one map file.
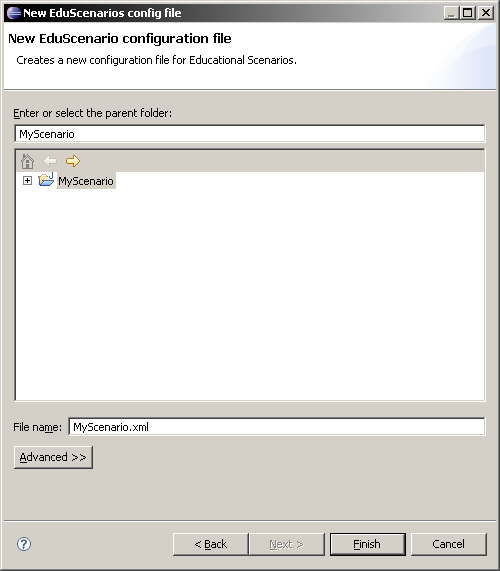
To generate this file the project folder and select -> .
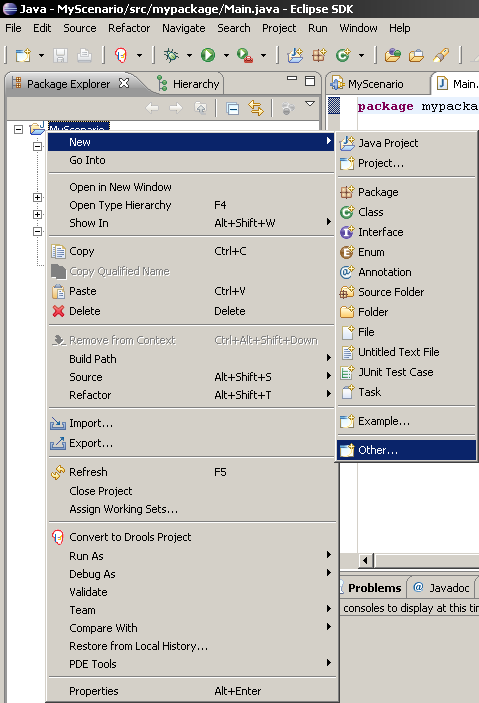
Select from the folder.
Fill in the name for the config file. Use the same as the project name with .xml extension, e.g.
MyScenario.xmlPress the button.
The default config file expect a map file
citymap.xmlwith standard information about map partitioning. You should either copy thecitymap.xmlinto project's folder or delete the the record in configuration file. -
-
Add the first rules file. This file describes the scenario's action. We will probe the contents of this file now, its structure is beyond the scope of this tutorial, it will be explained in the following one. the project folder and select -> .
Select from the folder.
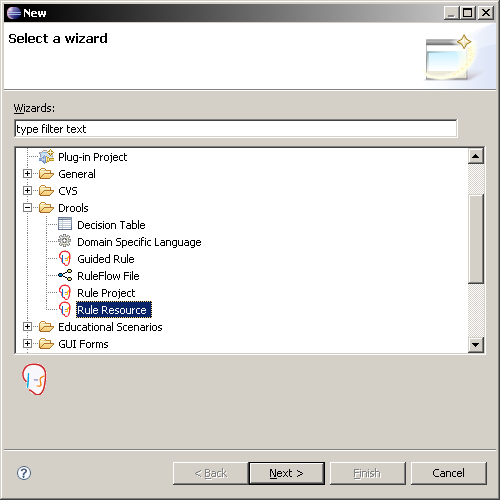
Fill in the name for the rules file, e.g.
MyRulesFile.dslrmypackage. Then press the button.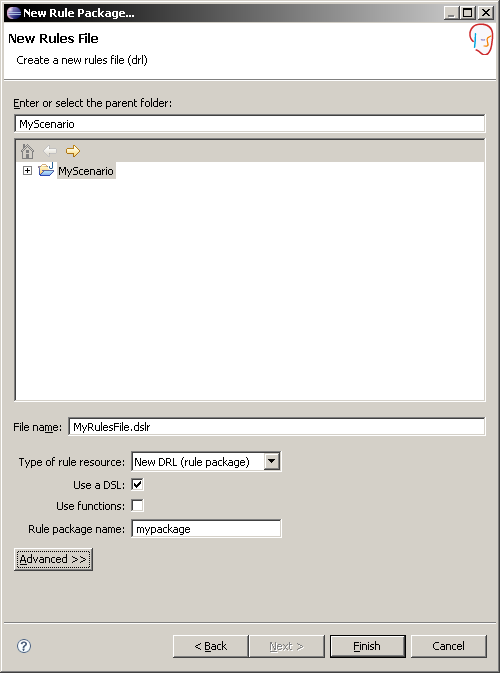
Copy the contents of FirstScenario's
MyRulesFile.dslrand paste it into the recently created rules file to make something happen in your scenario.Now copy the
edu-english.dslfile into the project folder. This file selects how should the commands in MyRulesFile.dslr be interpreted.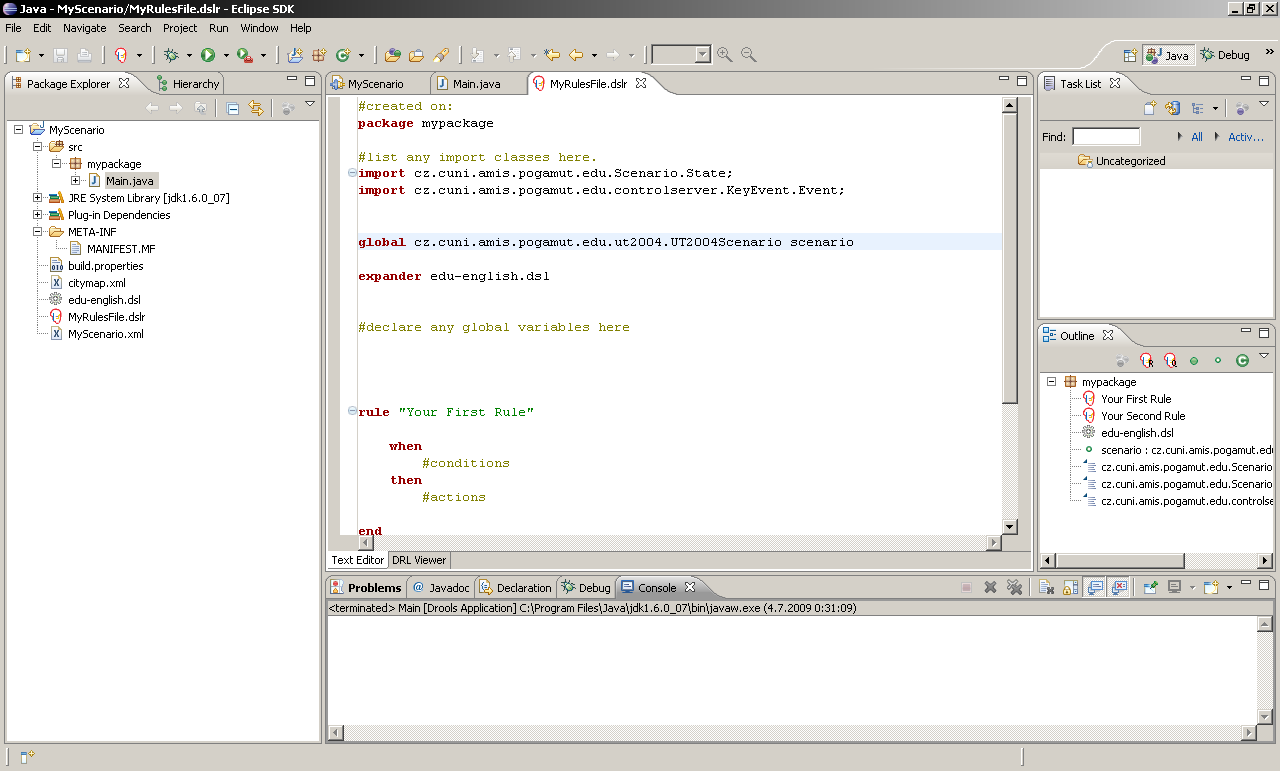
Now run the UT2004 with low-priority and wait until the game has started. Then start the scenario by the main java file and selecting -> .
As you can see, a text showing "My first scenario is running!" appeared on screen. Your first scenario has started correctly.